
Olympus OM-10 Manual: A Comprehensive Guide
Delve into the world of classic photography with this guide, covering the Olympus OM-10, a camera discussed in forums as recently as April 29, 2025.
The Olympus OM-10, a cornerstone of the OM system, represents a pivotal moment in 35mm SLR design. Introduced in 1979, it brought advanced features to a more accessible price point, captivating both amateur and professional photographers. Discussions on platforms like JLA FORUMS, with posts dating back to April 29, 2025, demonstrate continued interest in this classic camera.
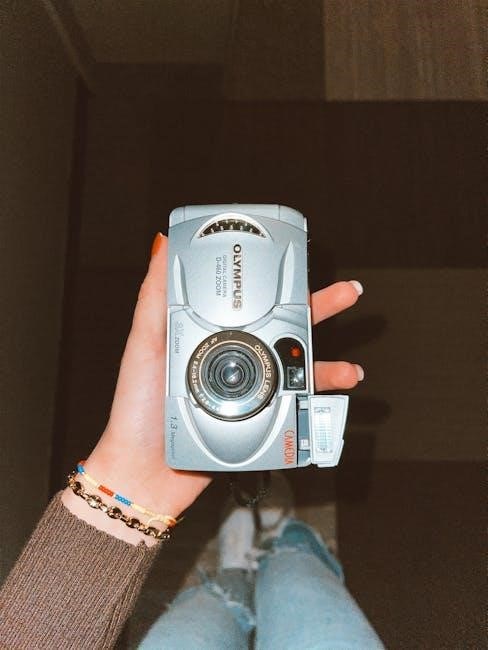
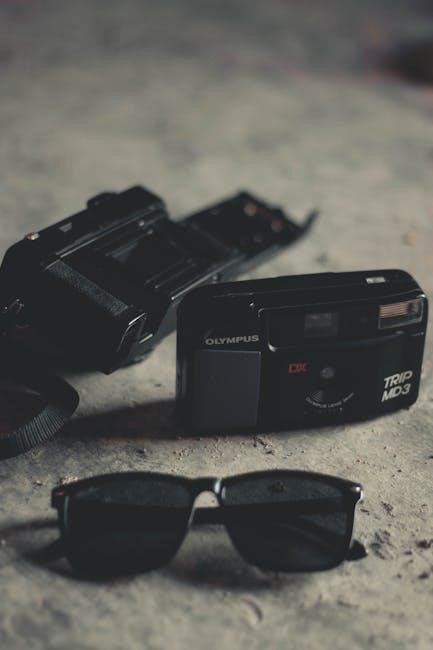
This manual aims to provide a comprehensive understanding of the OM-10, from its historical context to practical operation. Whether you’ve recently acquired one – perhaps even finding a used model like the Olympus SZ-11 mentioned in a Santa Barbara sale – or are considering joining the OM system, this guide will equip you with the knowledge to unlock its full potential. We’ll explore its features, controls, and nuances, ensuring a rewarding photographic experience.
Historical Context and Significance
The Olympus OM-10 emerged during a period of significant innovation in camera technology, challenging established norms with its compact size and sophisticated features. Released in 1979, it followed the original OM-1 and OM-2, aiming to broaden the appeal of the OM system. Online forums, like JLA FORUMS (posts from April 29, 2025, confirm ongoing discussion), highlight its enduring legacy.
Its significance lies in democratizing access to high-quality photography. The OM-10 offered aperture-priority auto-exposure, a feature previously found on more expensive models. This, combined with its relatively affordable price, made it a popular choice for enthusiasts. Even today, as evidenced by sales listings (Santa Barbara, 70 posted by Sale 8055030355), the OM-10 remains a sought-after classic, representing a golden age of camera design.
Key Features and Specifications
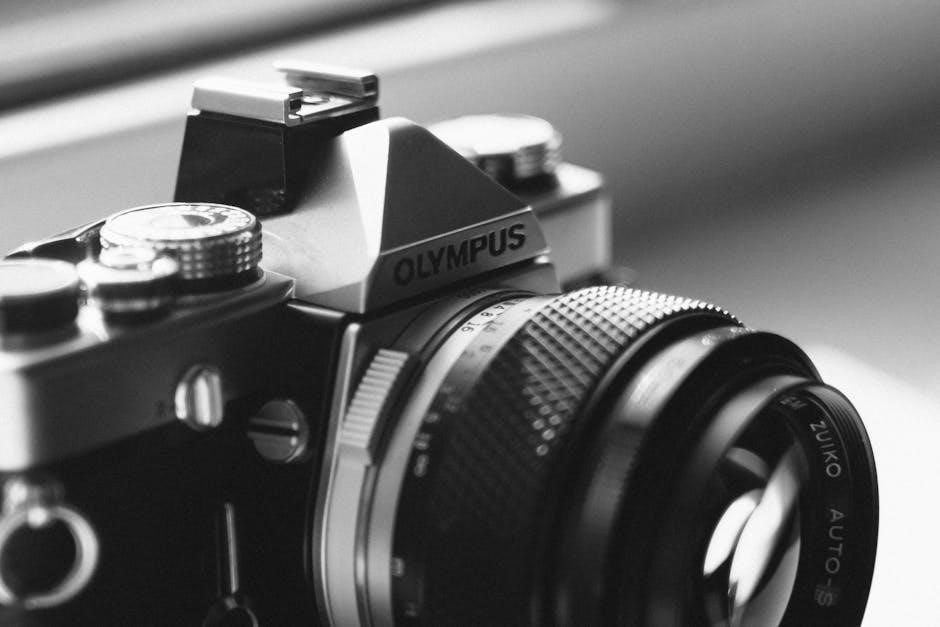
The Olympus OM-10 boasts a robust set of features within a remarkably compact body. It utilizes a mechanical shutter with speeds ranging from 1 to 1000 seconds, plus Bulb mode. Aperture-priority auto-exposure is central, alongside full manual control. The camera accepts Olympus OM-mount lenses, offering a vast selection of optics.
Key specifications include a CdS metering system, ensuring accurate exposure in various lighting conditions. It accommodates standard 35mm film, and features a hot shoe for external flash units. Discussions on platforms like JLA FORUMS (dated April 29, 2025) often mention its reliable operation and build quality. Its lightweight design and user-friendly interface contribute to its lasting appeal, even in today’s market.
Understanding the OM-10 Body
The Olympus OM-10’s body is a testament to thoughtful ergonomic design, prioritizing compactness and accessibility. Constructed with high-quality materials, it feels solid and dependable in hand. The top plate houses the main control dials – shutter speed and aperture settings for manual mode, and exposure compensation. The film advance lever is smooth and precise, contributing to a satisfying shooting experience.
Notably, discussions from April 29, 2025, on JLA FORUMS highlight the camera’s condition even after years of use. The bottom plate provides access to the battery compartment and film rewind crank. Understanding the placement of these elements is crucial for efficient operation and maintenance of this classic camera.
Controls and Dials Explained
The OM-10 features a straightforward control layout. The shutter speed dial, located on the top plate, allows selection from 2 seconds to 1/1000th of a second, crucial for controlling motion blur and depth of field. Adjacent is the aperture control, directly linked to the aperture priority mode. The exposure compensation dial adjusts the meter’s reading, vital for tricky lighting situations.
The film rewind and advance levers are intuitively positioned. Discussions from April 29, 2025, on JLA FORUMS suggest even cameras in used condition maintain functional controls. The self-timer lever initiates a 10-second delay. Mastering these dials unlocks the OM-10’s full potential.
Viewfinder Information
The Olympus OM-10’s viewfinder provides essential shooting data. Within the bright frame, you’ll find a split-image focusing aid for precise sharpness, alongside a central spot metering circle. LED indicators display over/under exposure warnings, guiding correct settings in aperture priority mode. These indicators illuminate based on the camera’s metering system.
Additionally, the viewfinder shows shutter speed readouts when in manual mode. Forum posts from April 29, 2025, highlight the clarity of the OM-10’s viewfinder even on older models. Understanding these visual cues is key to achieving well-exposed and sharply focused images.
Film Loading and Advance Mechanism
Loading film into the Olympus OM-10 is a straightforward process. Open the camera back via the release lever and insert the 35mm film cartridge into the left side. Thread the film leader to the take-up spool on the right, ensuring it engages properly. Advance the film using the lever on top of the camera; the manual advance offers tactile control.
The OM-10 features a smooth, reliable film advance. Discussions on forums, like those from April 29, 2025, often praise its mechanical robustness. Remember to rewind the film fully before opening the back to prevent light leaks.
Exposure Modes: Aperture Priority and Manual
The Olympus OM-10 offers two primary exposure modes: Aperture Priority and full Manual. Aperture Priority allows you to select the desired aperture (f-stop) for depth of field control, while the camera automatically sets the shutter speed for correct exposure. This is ideal for creative control over focus.
Manual mode grants complete control over both aperture and shutter speed, essential for challenging lighting or specific artistic effects. Mastering both modes unlocks the OM-10’s potential, as discussed in photography communities. Remember to utilize the metering system for accurate readings in either mode.
Aperture Priority Mode: How it Works
In Aperture Priority mode on the Olympus OM-10, you dictate the lens aperture, influencing depth of field. A wider aperture (lower f-number) creates shallow depth of field, blurring backgrounds, while a narrower aperture (higher f-number) yields greater sharpness throughout the image.
The camera’s metering system then calculates the appropriate shutter speed to achieve correct exposure based on your chosen aperture and the scene’s brightness. The viewfinder displays the selected shutter speed. This mode is excellent for portraits or landscapes where controlling depth of field is paramount, offering a balance between control and automation.
Manual Mode: Full Control
Manual mode on the Olympus OM-10 grants complete photographic authority. You independently set both the aperture and shutter speed, overriding the camera’s automatic systems. This demands a thorough understanding of the exposure triangle – aperture, shutter speed, and ISO – and how they interact to affect image brightness and creative effects.
Utilize the OM-10’s metering system as a guide, observing the needle in the viewfinder to gauge exposure. Manual mode is ideal for challenging lighting situations or when you desire precise control over every aspect of the photograph, fostering artistic vision and technical mastery.
Exposure Compensation
Exposure compensation on the Olympus OM-10 allows for fine-tuning the camera’s metering system. When shooting in Aperture Priority, the camera determines the shutter speed, but may be fooled by tricky lighting – like bright snow or dark subjects. Compensation adjusts this automatic reading.
A positive compensation (+ values) brightens the image, useful for underexposed scenes. Conversely, negative compensation (- values) darkens the image, correcting overexposure. The OM-10’s compensation dial provides precise control, ensuring accurate exposures even in challenging conditions, giving you creative flexibility beyond the meter’s initial assessment.
Metering System Details
The Olympus OM-10 utilizes a Center-Weighted Averaging (CWA) metering system, prioritizing the central portion of the frame for exposure calculation. This approach mimics how the human eye perceives light, offering generally accurate results in typical scenes. However, understanding its nuances is crucial for optimal performance.
The system measures light across the entire frame, but gives greater weight to the center. This makes it effective for portraits and general photography. The OM-10 also features a spot metering function, allowing precise readings from a small area, useful for high-contrast situations.
Metering Range and Accuracy
The Olympus OM-10’s metering system operates effectively within an EV range of 1 to 19, covering a substantial spectrum of lighting conditions. This range ensures accurate exposure determination in most scenarios, from bright sunlight to dimly lit interiors. Accuracy is generally excellent under average lighting, but challenging situations—like strong backlighting or scenes with extreme contrast—may require careful consideration.
The camera’s meter is sensitive enough to handle a variety of film speeds, contributing to its versatility. However, remember that meter accuracy can be affected by factors like lens cleanliness and the reflectivity of the subject.
Spot Metering Functionality
The Olympus OM-10 features a highly useful spot metering mode, activated by depressing the meter selector lever and rotating the aperture ring. This allows you to measure the light from a very small area – approximately 2 degrees – of the scene, ignoring the overall brightness. This is invaluable for tricky lighting, like subjects backlit against a bright sky, or when you need precise exposure for a specific detail.
Spot metering empowers photographers to override the camera’s evaluative metering, ensuring correct exposure for the most important part of the image. Mastering this feature unlocks creative control and consistently accurate results.
Using the Meter for Accurate Exposure
The OM-10’s metering system, whether in aperture priority or manual mode, relies on a needle indicator within the viewfinder. This needle displays the camera’s assessment of the scene’s brightness. To achieve proper exposure, adjust either the aperture (in aperture priority) or the shutter speed (in manual) until the needle centers on the ‘0’ mark.
A positive (+) reading indicates overexposure, while a negative (-) reading suggests underexposure. Remember to consider the scene’s dynamic range and utilize exposure compensation when necessary for optimal results, especially in challenging lighting conditions.
Lenses Compatible with the OM-10
The Olympus OM-10 utilizes the renowned Olympus OM lens mount, celebrated for its robust build quality and extensive lens selection. This mount allows compatibility with a vast array of Olympus OM-system lenses, offering photographers diverse options for various shooting scenarios. From wide-angle to telephoto, and standard primes, the OM system caters to many styles.
While primarily designed for OM lenses, adapters exist to mount lenses from other systems. However, ensure compatibility and functionality before investing in adapters, as full functionality isn’t always guaranteed.
Olympus OM Lens Mount
The Olympus OM lens mount, introduced in 1972, is a bayonet mount known for its precision and reliability. It features a 43mm throat diameter and a relatively short flange focal distance of 42mm, contributing to compact lens designs. This mount system is celebrated for its smooth operation and secure lens attachment.
The OM mount’s design prioritizes mechanical simplicity, relying on a lever-based locking mechanism. This contributes to its durability and ease of use. The mount’s compatibility extends across the entire OM system, including Zuiko lenses, offering a wide range of photographic possibilities.
Recommended Lenses for Different Photography Styles
For portraiture, the Olympus Zuiko 50mm f/1.8 offers beautiful bokeh and sharpness, ideal for isolating subjects. Landscape photographers will appreciate the wide-angle Zuiko 28mm f/2.8, capturing expansive scenes with detail. Street photography benefits from the compact Zuiko 35mm f/2.8, providing a versatile perspective.
Macro enthusiasts should consider the Zuiko Auto-Macro 50mm f/3.5, enabling close-up exploration. Those seeking telephoto reach will find the Zuiko 135mm f/2.8 a valuable asset. Remember, the OM system’s lens quality is consistently high, offering excellent results across genres.
Adapting Non-OM Lenses

While the Olympus OM-10 boasts a native OM lens mount, adapters allow for using lenses from other systems. Adapting requires careful consideration of flange distance and potential compatibility issues. Adapters for M42 screw mount lenses are readily available, offering access to a vast selection of vintage glass.
However, full functionality, like aperture control, may be limited with certain adapters. Research adapter quality and reviews before purchasing. Be aware that adapting lenses can sometimes introduce vignetting or reduced image quality. Ensure the adapter is securely mounted to avoid damage to the camera or lens.
Troubleshooting Common Issues
Encountering problems with your OM-10? Several issues are commonly reported. Film transport issues can arise from incorrect loading or a worn advance mechanism; ensure film is properly seated and the advance lever moves smoothly. Metering errors might stem from weak batteries or a dirty meter window – replace the battery and clean the window carefully.
Shutter speed problems could indicate a need for a CLA (Clean, Lubricate, and Adjust) service by a qualified technician. Online forums, like JLA FORUMS, discuss cameras for sale and potential issues, offering valuable insights. Remember to consult the manual for detailed guidance.
Film Transport Problems
Experiencing difficulties advancing film in your OM-10? This is a common issue. First, verify the film leader is correctly engaged with the take-up spool. Ensure the back door is securely latched, as the camera won’t advance film if it’s not. A sluggish advance lever often indicates a need for cleaning and lubrication.
Check for any obstructions within the film chamber. Online discussions, such as those found on JLA FORUMS, frequently mention OM-10 issues. If the problem persists, a professional CLA might be necessary to address worn gears or a sticky mechanism. Avoid forcing the lever!
Metering Errors
Inaccurate readings from the OM-10’s meter can lead to improperly exposed photos. First, confirm the battery is fresh; a weak battery significantly impacts metering accuracy. Ensure the lens contacts are clean, as corrosion can disrupt the electrical connection. Check the ASA/ISO setting matches your film’s speed – a mismatch throws off calculations.
Bright light sources directly entering the viewfinder can sometimes fool the meter. Online forums, like JLA FORUMS, detail user experiences. If errors persist, consider a professional calibration. Remember, the OM-10’s meter is center-weighted, so composition matters!
Shutter Speed Issues
Problems with the OM-10’s shutter can manifest as slow speeds, inaccurate speeds, or a complete failure to fire. Often, this stems from old, dried-out lubricant within the shutter mechanism. Avoid attempting self-repair unless experienced; improper disassembly can cause further damage. A sluggish shutter often appears in cameras discussed on forums like JLA FORUMS.
Ensure the camera isn’t being used in extremely cold temperatures, as this can thicken lubricants. If the slow-speed range is affected, it may indicate a specific issue with that portion of the mechanism. Professional servicing is recommended for shutter repairs, ensuring accurate and reliable operation.